BILL OF MATERIALS
Bill of Materials
Constructing a Bill of Materials is an often necessary but frustrating task at the end of the schematic design phase. Fortunately, Proteus provides a completely flexible scheme which allows you to include as much or as little information as required.
Let’s start by looking at the default Bill of Materials Output. Launch the Bill of Materials module from the application module toolbar at the top of Proteus

Launch the Bill of Materials from the icon
The section at the top of the report is largely taken from the Design Properties Command, which you can find on the Design Menu and modify accordingly.
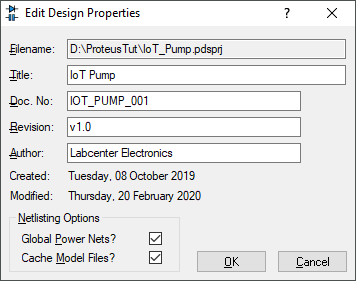
The Edit Design Properties dialogue form
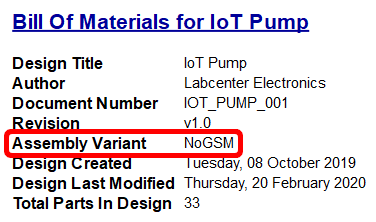
If your Active Variant is not the base design then the Assembly Variant will also be included in the header block:
Bill of Materials categories control the grouping of parts in the report and work by comparing the reference prefix of the components. For example, all resistors have a prefix of ‘R’, capacitors a prefix of ‘C’ and IC’s a prefix of ‘U’. Similarly, Bill of Materials Fields control the content of the report with each field contributing a column.
Both fields and categories can be created, edited or deleted directly from the left hand control panel on the BOM report.
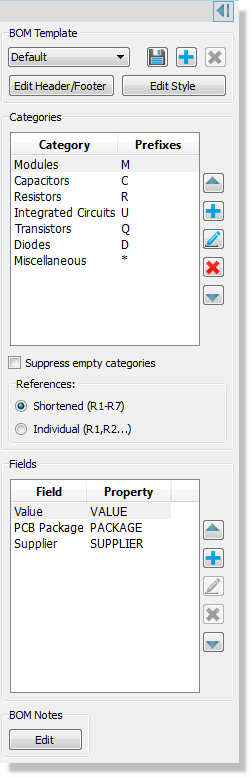
Section for editing The Bill of Materials information
Let's work through a couple of examples. First, we'll order all our parts from Digikey so let's specify a supplier in the BOM. To do this, we need a new field.
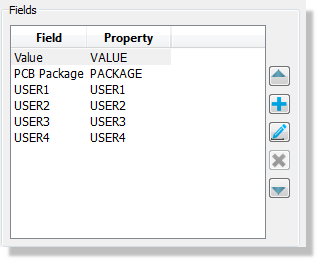
BOM Fields
Launch the BOM Field editor by clicking on the Add button underneath the Fields listing.
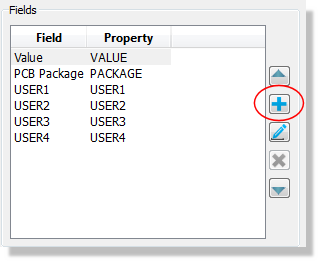
The 'Add' button enters the Edit BOM Fields dialogue form
If you are adding a field that you have previously defined then you select it from the drop down combo box at the top of the dialogue form. However, since we have not defined a SUPPLIER property before click on the new button to create a property definition.
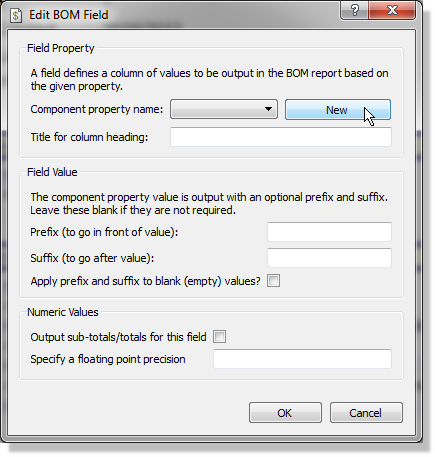
Adding a New BOM field
There are two non-editable fields that you can apply, namely .placed and .name. The placed field will show whether the part is placed on the layout (component or solder side) while the name field simply populates with the component names.
Property name is SUPPLIER, description can also be Supplier and Type is String.
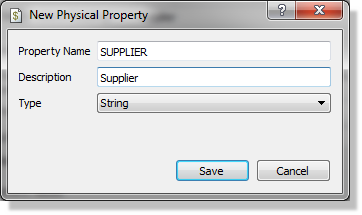
New Property dialogue filled out correctly
We don't need to prefix or suffix values and this is not a numerical property so sub-totals are meaningless. Click on the OK to exit the dialogue form and create the property.
At this point the BOM has switched to the Property Editor tab which is essentially a grid view of the data in the report. We need to add information for each component in the Supplier column. We could do this individually but since all of our parts are coming from a single supplier it's far easier to use find/replace. Left click on the supplier column and then either use the CTRL+F shortcut or click on the find/replace icon.
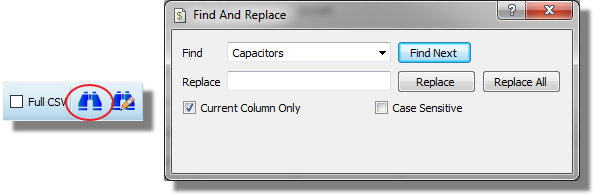
Find and Replace form
Leave the find edit box blank (we are entering data into blank fields), type Digikey in the Replace edit box and make sure that the current column only checkbox is selected.
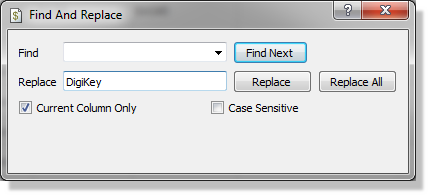
Replacing blank fields with 'DigiKey'
Hit the replace all button to enter the data. You should see that all of the fields in the Supplier column are populated and coloured in blue.
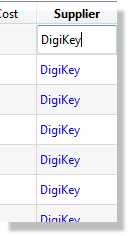
DigiKey now appears where the blank fields were
The blue indicates that the changes have not yet been committed; if you have made a mistake the clear pending changes button will revert your edits. When you have reviewed your changes use the Apply Changes button at the top to commit.

Applying BOM Changes
If you switch back to the HTML View of the report you should now see the information you entered in the report.
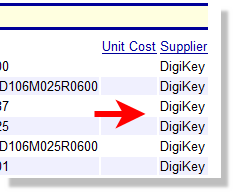
DigiKey is now assigned as the supplier
Also, if you return to the schematic and edit a component the data will be present there as well.
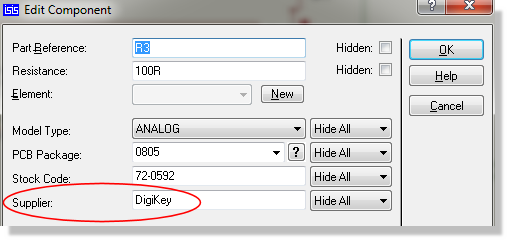
The Supplier field is automatically added to the schematic part
Changing the data in the edit component dialogue form will live update the BOM report.

The BOM updates live with any changes made on the schematic
This process can of course be repeated as required with other properties such as RoHS, MoQ, Lead Time, etc. More practical examples and detail can be found in the Bill of Materials reference manual (accessed via the Help Menu in BOM Module).
Note that property changes are applied locally to the schematic components and not to the library parts. If you want to update your parts with newly entered information then run the 'Compile to Library' command from the Library menu. This will put all components in the design (along with their new properties!) into a library of your choice.
Having configured the information on the BOM you can generate the report from the export options from the icons at the top.

Export options for the BOM
It is beyond the scope of this tutorial but you also have full control of the colour and styling of the report. This works via the customize stylesheet button at the top of the HTML view and is discussed in detail in the BOM Reference manual.
Printing
To print the schematic, launch the Print Design window from the File menu. First select the correct device to print to using the Configure Printer button in the top section of the Print Design window. This activates the Windows common dialogue for printer device selection and configuration. The details are thus dependent on your particular version of Windows and your printer driver - consult Windows and printer driver documentation for details. When you have selected the correct printer and return to the Print Design window, you will notice a number of options available, all of which have detailed descriptions available when clicking on the help (?) icon on the top right of the window. For our purposes we will simply center the schematic output on the page and print. Do this now by right clicking on the Print Preview and selecting the Position Output at Center option as shown below.
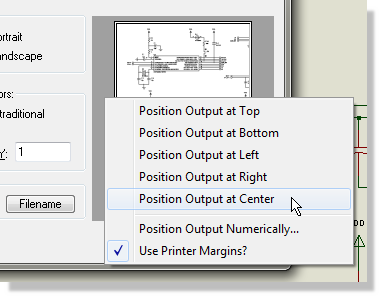
You can also export the schematic directly in PDF format from the Output Menu (no driver installation required).
The current schematic is now ready for board layout so if you have purchased a Proteus PCB Design package you can move straight onto the accompanying tutorial booklet for ARES.
See Also: